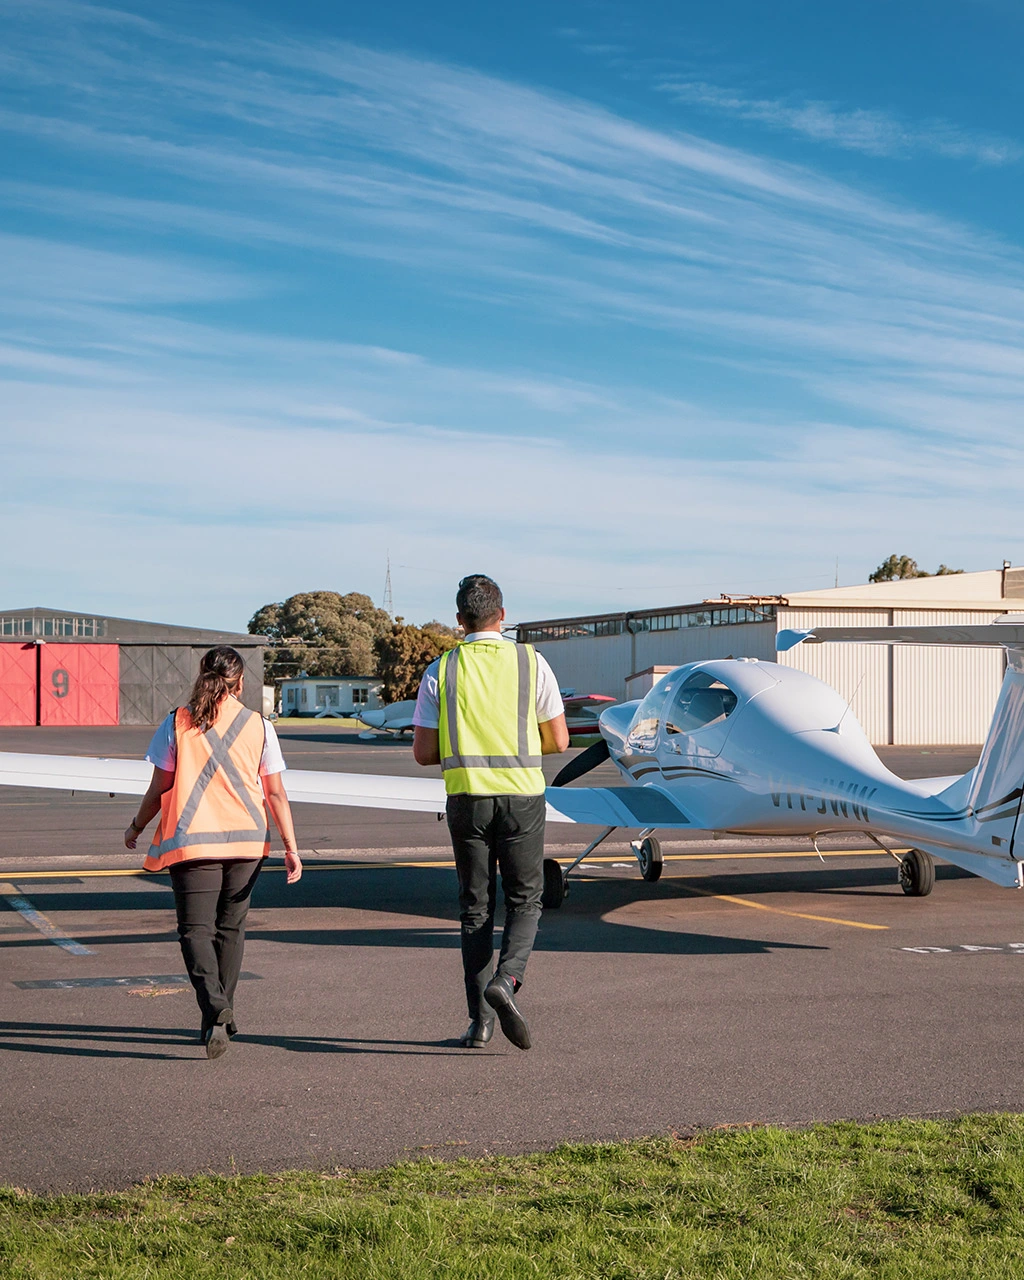
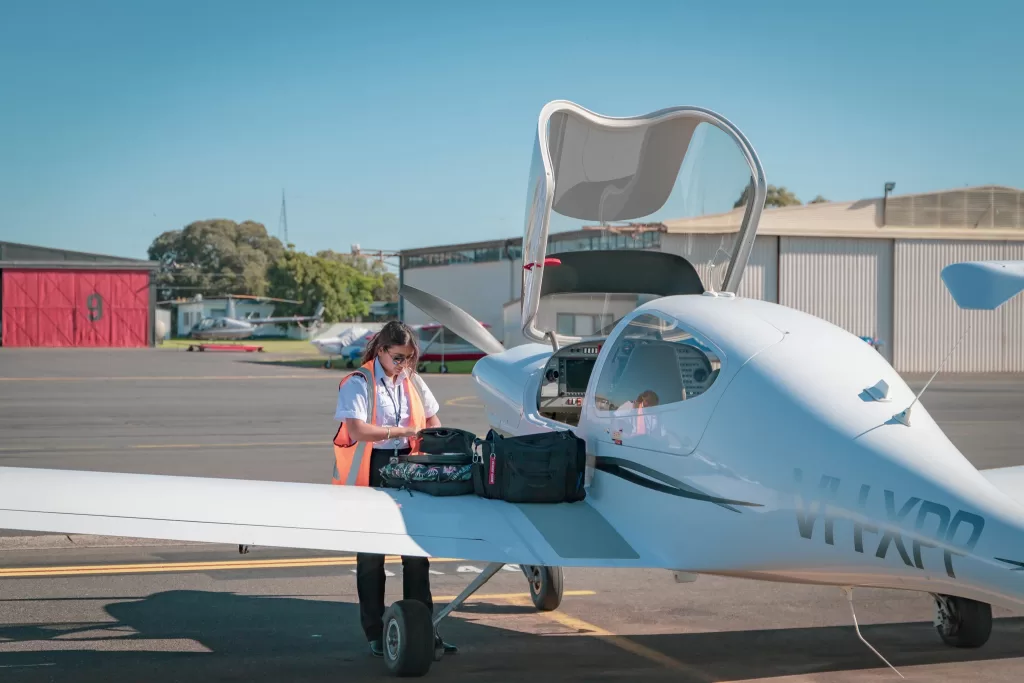
For student pilots, flying repeat circuit pattern procedures around their aerodrome will form a large part of their training. In this blog, we reveal circuit flying tips to help you get it right from start to finish.
What is a “circuit”?
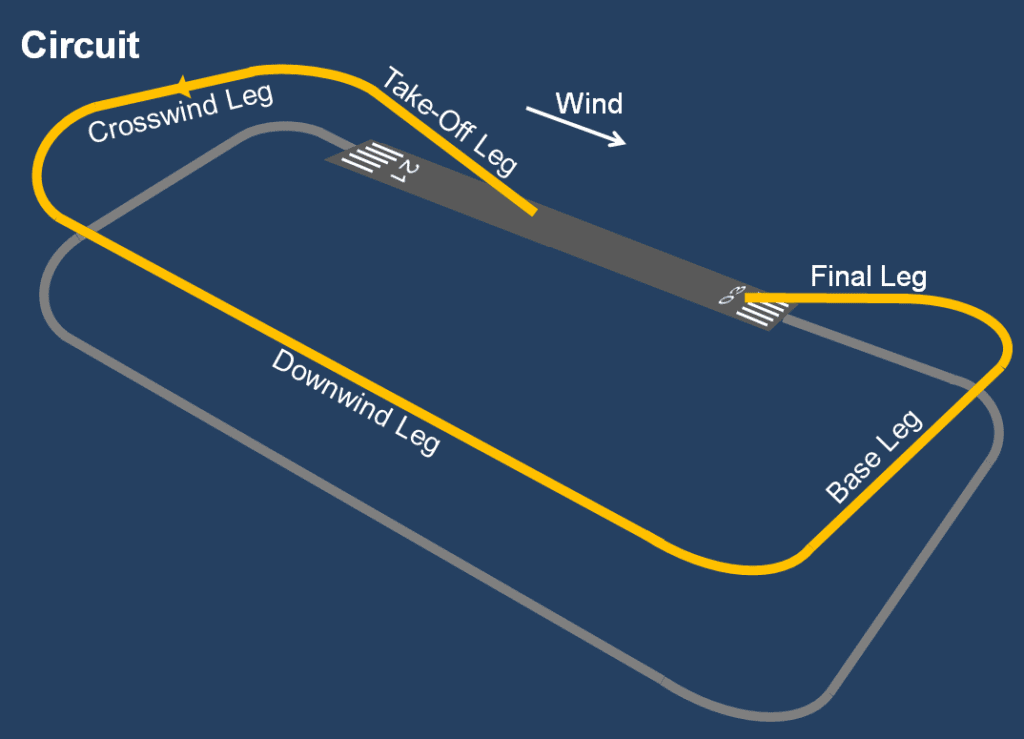
CASA describes standard circuit procedure as follows:
“The standard aerodrome traffic circuit pattern facilitates an orderly flow of traffic and is normally a circuit pattern made with all turns to the left. When arriving at an aerodrome to land, a pilot will normally join the circuit upwind, crosswind (mid-field), or downwind (before mid-downwind). Landings and take-offs should be made on the active runway or the runway most closely aligned into wind. If a secondary runway is being used, pilots using this secondary runway should avoid impeding the flow of traffic on the active runway.”
The circuit pattern is the orderly take-off and landing flow of aerodrome traffic. Maintaining it is crucial to even the most major airports. Procedures will vary locally at different aerodromes that may have other factors to consider (terrain etc).
There are five basic legs to circuits:
– Take-off Leg
– Crosswind Leg
– Downwind Leg
– Base Leg
– Final Leg
While it might seem like a fairly standard or boring flying procedure to many people, circuit flying forms the basis of any pilot’s training.
Circuit flying includes fundamental flying syllabus including take-offs, climbs, climbing turns, medium level turns, straight and level flying, descending, descending turns, slow flying and landing. It’s also crucial to developing your separation skills as the presence of other air traffic is common.
The definition of a perfect circuit
According to CASA, a perfect circuit will see the pilot completing the following:
– Take-off and then climb to 500ft (approx 150 metres)
– Turn onto crosswind leg (perpendicular to the extended runway centreline)
– Climb to 1,000ft (approx 300 metres)
– Reference aerodrome for turn point and turn onto downwind leg
– Reduce power, turn onto base and commence descent
– Turn onto final leg and land
There are many factors that can intervene and subsequently make it harder for you to complete that textbook perfect circuit flight. These include:
– Traffic
– Wind
– Light
– Glare
External factors aside, the best method for putting together a perfect circuit is to look at perfecting each of the legs individually.
Departure (take-off) leg
When airborne, find the attitude that allows you your nominated climb speed on full power. As soon as the attitude is established, find a reference point on the horizon and aim at that.
Once you have established your climb to a safe altitude (300ft or above), complete your take-off checks including a glance back to ensure your reference point is maintaining the extended runway centreline. Look for a reference point for your turn, just ahead of your left wing’s leading edge.
A clean take-off and a good setup into your first turn is essential for smooth circuit flying.
Crosswind leg
Begin your turn after you have reached an altitude of at least 500ft, although 750ft is the CASA recommendation. As it is a climbing turn, look to bank the aircraft at a 15 degree angle.
As other aircraft commonly join a circuit pattern on the crosswind eg at circuit height, keep a good lookout for traffic, and then adjust to maintain separation. Once the turn is made, maintain your attitude and power, and look for a reference point for the downwind turn.
Downwind leg
The turn onto downwind is generally made when your aircraft is at 45 degrees to the upwind threshold, onto a suitable reference point so as to track parallel to the runway. Depending on adjustments made for separation, you will either need to be level the aircraft at circuit height (1000ft) before, during or after the turn onto downwind. Lookout is again stressed, as traffic may also be joining the circuit on the downwind leg.
If a downwind radio call is required, it should be made when abeam of the upwind threshold. You should confirm your position in the circuit. Making a visual search by scanning from the threshold back along the final approach to base and then to downwind ahead of you. Identifying other aircraft positions within the circuit.
Maintain straight parallel flight by visually running the runway through the wingtip. Then you can complete your landing checks. Say each one out loud as you do them. Consider a reference point for your turn to base.
Base leg
As you are reaching a point in line with a 45° angle from the threshold, pick your reference point along the wing. Then make the base radio call if required. The best time to make the call is just before commencing the turn, as a turning aircraft is more easily seen by others in the circuit.
Reduce the power (1500-1700rpm as a guide) and then start a medium level (30°) turn. There’s no need to adjust your trim, as you will naturally wash speed in the turn whilst holding height at reduced power. Continue the turn onto your reference point, allowing for drift, until the leading edge of the wing is parallel to the runway.
Before the descending turn onto final, look carefully for traffic, especially along the approach path to ensure no other aircraft are on long final. Try to anticipate the roll out onto the approach (final) leg. This will help to ensure that the wings are level at the same time as your aircraft aligns itself with the runway centreline.
Throughout the turn, the angle of bank should be adjusted to achieve this by about 500ft. Adjust your altitude to maintain the nominated approach airspeed.
Final (approach) leg and landing
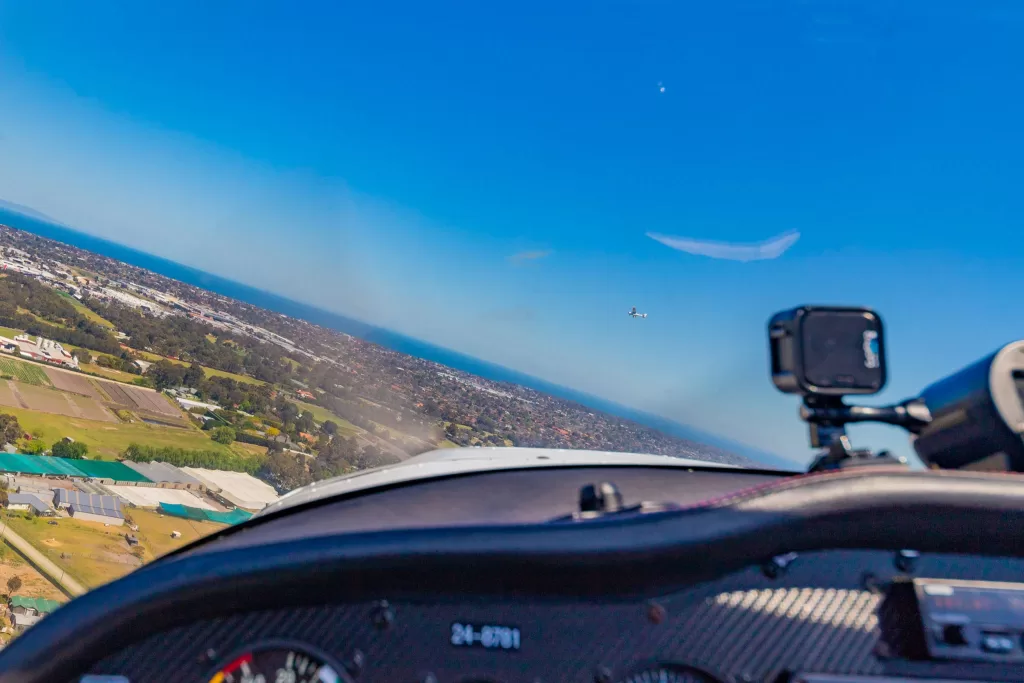
During the approach, as with all phases of flight where the intent is to maintain a specific airspeed, it is important to emphasise that you should select, hold and trim the correct altitude for the desired airspeed.
When established on final, select full flap at the appropriate time and maintain your airspeed. Or allow it to decrease through attitude adjustment. Avoid extending your flaps during the turn onto final.
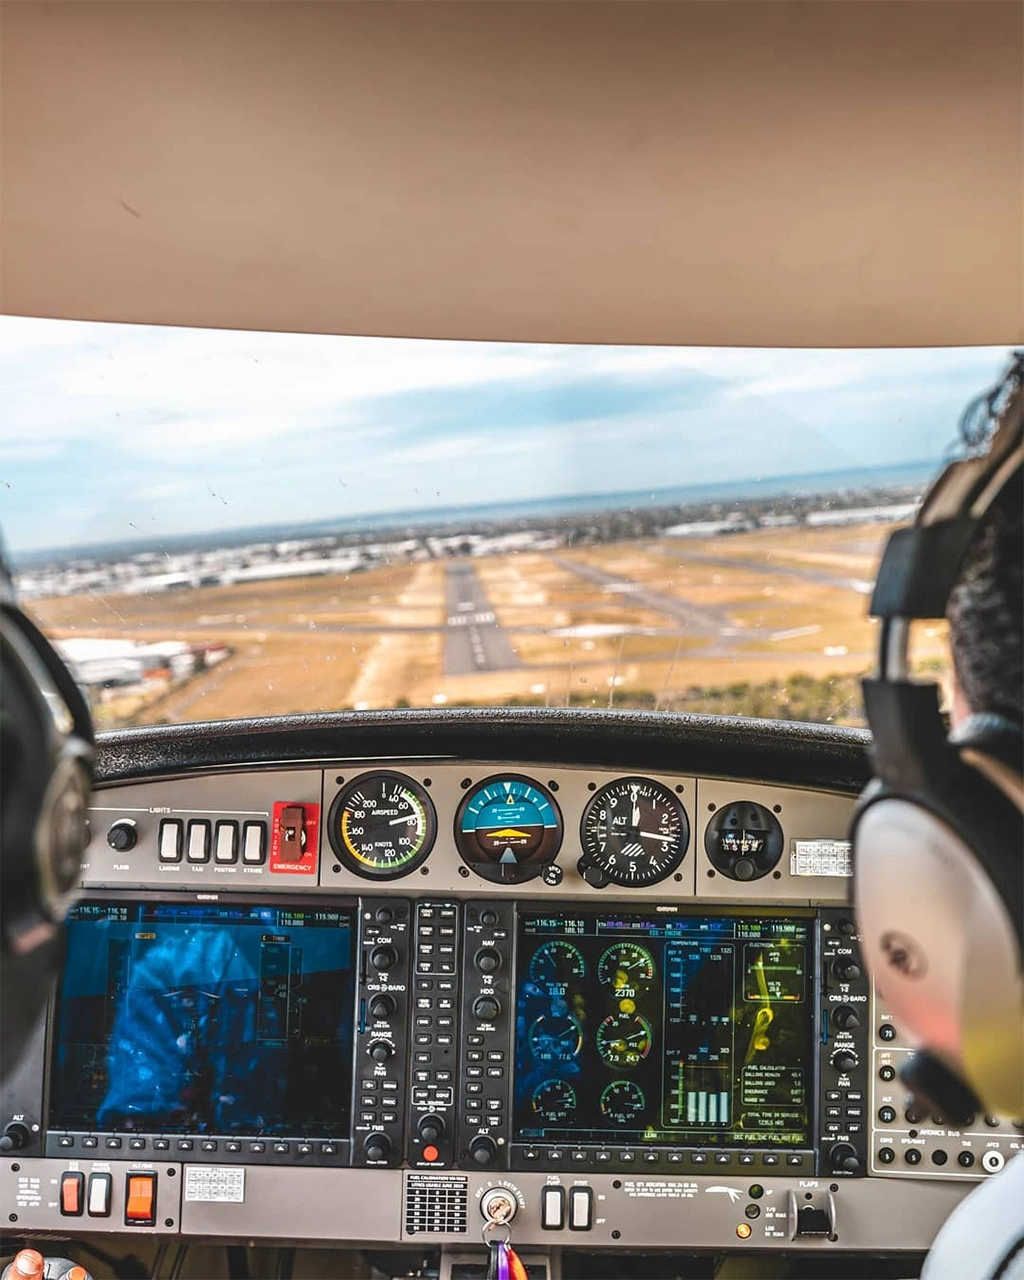
Select an aiming point on the runway (commonly the numbers, or the threshold), and then monitor and adjust your power as required to maintain a steady rate of descent to touchdown. If the aiming point moves up the windscreen, increase power – and if the aiming point moves down the windscreen, decrease power.
If you have trimmed the aircraft correctly, then the power adjustments should be small.
Your landing should be one smooth manoeuvre that slows the rate of descent to zero, and the speed to just above the stall speed, as the wheels touch the ground. When you have have assured your landing, often described as “crossing the fence”, close the throttle and progressively raise the attitude of the nose.
Gradually increase backpressure to achieve the correct attitude, so that your touchdown is light and on the main wheels only. Following touchdown on the main wheels, gently lower the nosewheel to the runway using the elevator. Use a reference point at the end of the rudder to keep straight on the runway centreline with your rudder, and then apply your brakes as required.
And there you have it! There will always be factors that require you to adjust things, but if you use this as a guide, then you will be well on your way to perfecting your circuit flying.
You can get more flight training tips by subscribing to our YouTube channel. We have RPL/PPL flying lessons, aircraft pre-flight check videos, and more. Check out our lesson on circuit flying, the click the button below to subscribe!
Chat to one of our flight training specialists to get your pilot training off the ground. Email hello@learntofly.com.hk/en or go to https://drift.me/learntofly/meeting to book a meeting and school tour.


